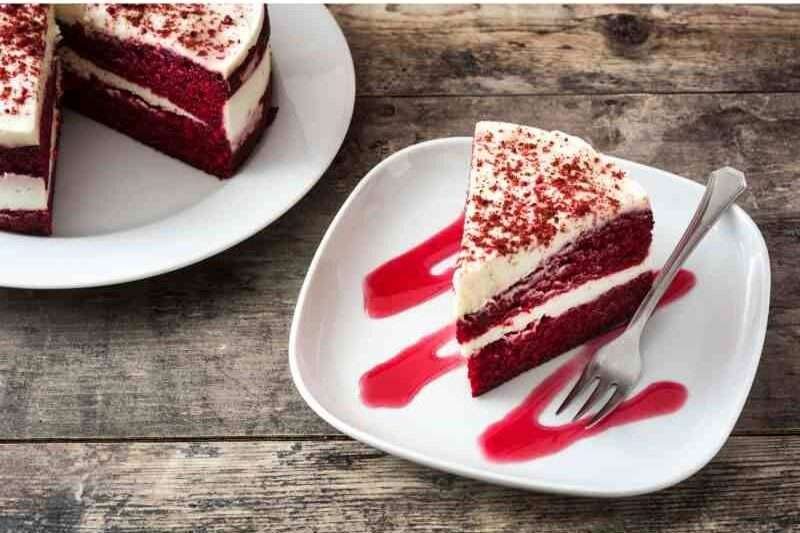
Best Red Velvet Cheesecake Recipe
-
Prep Time40 mins
-
Cook Time1 hour 50 mins
-
Serving12
-
Ready In2 hour 30 mins
Looking for a dessert that’s both stunning and indulgent? This Red Velvet Cheesecake is the ultimate treat. With its vibrant red velvet layers, creamy cheesecake filling, and smooth cream cheese frosting, it’s a feast for both the eyes and the taste buds. Perfect for birthdays, holidays, or any special celebration, each slice delivers a perfect balance of rich cocoa flavor, velvety texture, and a hint of sweetness that melts in your mouth. Elegant, decadent, and irresistibly delicious—this cheesecake is sure to impress everyone at the table.
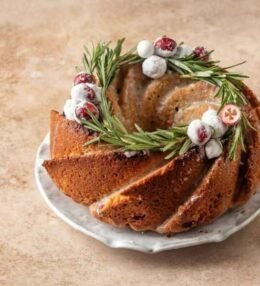
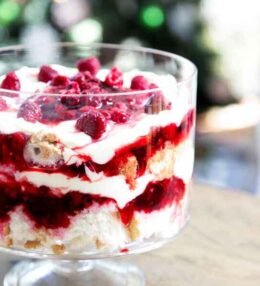
Whether you’re cooking a quick family meal or planning festive dishes for the holidays, recipes like Christmas brownies or Italian Christmas Cookies make every occasion easier, more joyful, and truly rewarding.
Ingredients for Red Velvet Cheesecake
For the Red Velvet Cake
- 1 ½ cups (180 g) all-purpose flour
- 1 tbsp cocoa powder
- 1 tsp baking powder
- ¼ tsp salt
- ¾ cup (150 g) sugar
- ½ cup (120 ml) vegetable oil
- 2 large eggs
- 1 tsp vanilla extract
- ½ cup (120 ml) buttermilk
- 1 tbsp red food coloring
- 1 tsp white vinegar
For the Cheesecake Layer
- 500 g cream cheese, softened
- ¾ cup (150 g) sugar
- ½ cup (120 ml) sour cream
- 2 large eggs
- 1 tsp vanilla extract
For the Frosting
- 200 g cream cheese, softened
- 50 g unsalted butter, softened
- 1 cup (120 g) powdered sugar
- 1 tsp vanilla extract
Equipment Needed
- 8-inch round springform pan
- Mixing bowls
- Electric mixer or hand whisk
- Measuring cups and spoons
- Spatula
- Knife for slicing
- Optional: water bath setup (large baking pan and hot water)
How to Make Red Velvet Cheesecake
Prepare the Red Velvet Cake
Step 1: Preheat the oven to 350°F (175°C).
Step 2: In a bowl, mix together flour, cocoa, baking powder, baking soda, and salt.
Step 3: In another bowl, beat sugar, oil, eggs, and vanilla until smooth. Mix in buttermilk, red food coloring, and vinegar.
Step 4: Gradually add dry ingredients and mix until just combined.
Step 5: Pour over the batter and bake for 20–25 minutes. Let it cool completely.
Prepare the Cheesecake Layer:
Step 6: Beat cream cheese and sugar until smooth. Add sour cream, eggs, and vanilla, and blend until creamy.
Step 7: Pour over the cooled red velvet layer. Bake at 325°F (160°C) for 35–40 minutes or until set. Cool to room temperature, then chill for at least 4 hours.
Assemble the Frosting:
Step 8: Beat cream cheese and butter until fluffy. Add powdered sugar and vanilla, and mix until smooth. Spread evenly over the top of the chilled cheesecake. Serve and enjoy.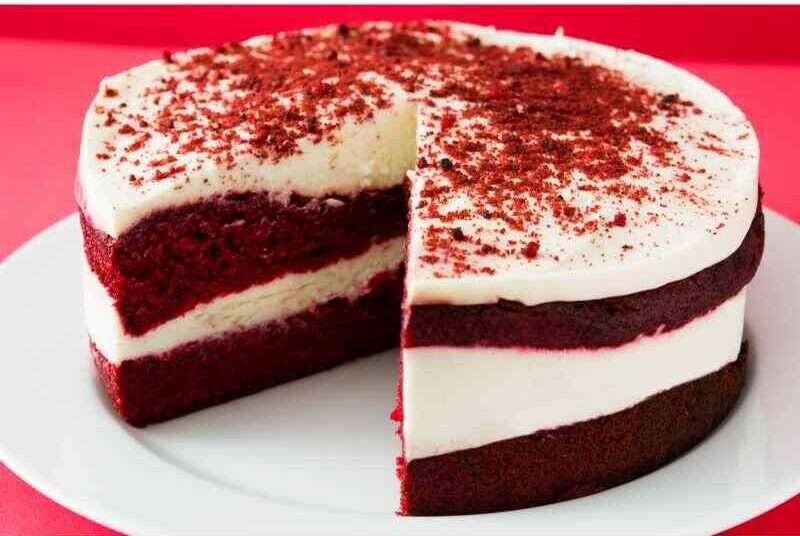
Storage Tips
Refrigerator: Keep the cheesecake in an airtight container or cover the pan with plastic wrap. It will stay fresh for up to 5 days.
Freezer: Wrap slices individually in plastic wrap and place them in a freezer-safe bag. Freeze for up to 2 months. Thaw overnight in the fridge before serving.
Pro Tips for the Best Red Velvet Cheesecake
1. Room Temperature Ingredients: Make sure cream cheese, eggs, and butter are at room temperature for a smooth, lump-free cheesecake.
2. Don’t Overmix: Overmixing the cheesecake can create cracks. Mix until just combined. Try our other dessert: Christmas Cheesecake or Loaf Pan Basque Cheesecake.
3. Chill Properly: Refrigerate at least 4 hours (preferably overnight) for the layers to set perfectly.
4. Clean Slicing: Dip the knife in hot water and wipe it between cuts for neat slices.
Nutrition
- Calories: 380 kcal
- Protein: 6 g
- Carbohydrates: 30 g
- Sugars: 22 g
- Fat: 26 g
- Saturated Fat: 14 g
- Cholesterol: 80 mg
- Fiber: 1 g
- Sodium: 220 mg
Note: Nutrition may vary based on ingredients and portion sizes.
More Cookies Recipes You’ll Love:
- Italian Ricotta Cheesecake
- Gluten-Free Gingerbread Cheesecake
- No-Bake Christmas Cheesecake
- Vegan Eggnog Cheesecake
FAQs
Can I make this cheesecake dairy-free?
A: Yes. Replace cream cheese and butter with dairy-free alternatives and use plant-based sour cream.
Can I use a store-bought cake layer instead of baking one from scratch?
A: Absolutely! Just ensure it’s sturdy enough to hold the cheesecake layer.
Why does my cheesecake crack?
A: Overbaking, rapid cooling, or overmixing can cause cracks. Bake in a water bath and cool gradually for best results. Try our Chocolate Peppermint Cheesecake recipe.
Can I prepare it in advance?
A: Yes, it can be made a day ahead and stored in the fridge to allow layers to set properly.
Conclusion:
This Red Velvet Cheesecake is a perfect combination of elegance and indulgence. Its vibrant red layers, creamy cheesecake filling, and smooth frosting make it ideal for celebrations or simply treating yourself. With these simple tips and techniques, you can achieve a bakery-quality dessert at home that’s sure to wow family and friends. Every bite is a luscious mix of flavors and textures that will leave everyone asking for seconds.
If you make this recipe, I’d love it if you could leave a star rating ★ below. Don’t forget to tag me on Instagram so I can see your creation!


Leave a Review