Best Red Velvet Cheesecake Recipe
- July 1, 2024
-
Prep Time40 mins
-
Cook Time1 hour 50 mins
-
Serving12
-
Ready In2 hour 30 mins
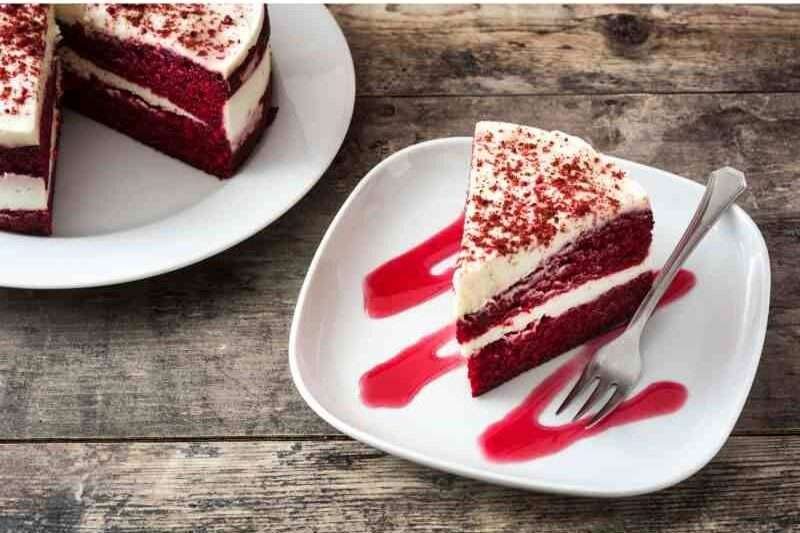
Red Velvet Cheesecake Recipe is a colorful treat. It’s perfect for those who enjoy rich, velvety flavors with that tangy cheesecake goodness. Red Velvet Cheesecake is a name that suggests refined romance. And it tastes so elegant but fun, too. Add some whipped cream and chocolate accents on top.
As a timeless dessert lover, I have eaten my fair share of treats. But this one takes the cake… pun intended. It’s an easy recipe to make, and all those layers make it look as fancy as can be.
So, are you ready to bedazzle yourself with a Red Velvet Cheesecake? Let’s get cooking’ and experience this recipe together. See the amazing recipe below on how to create this shiny masterpiece.
Ingredients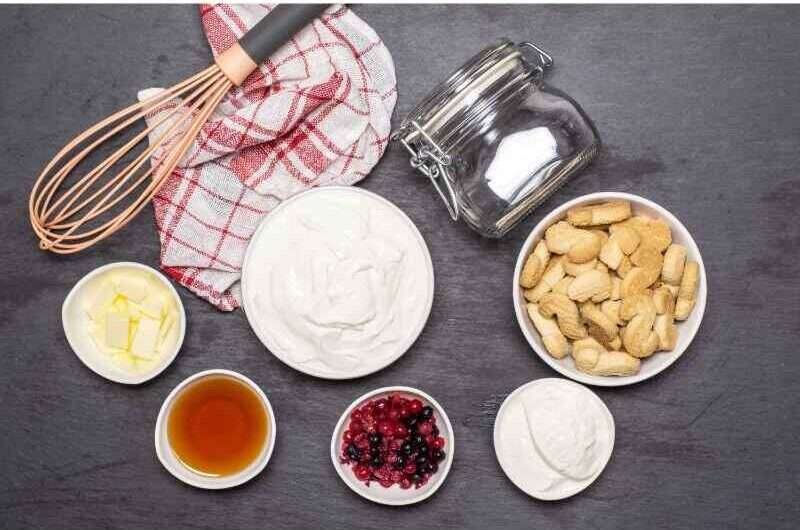
First, let’s get the ingredients ready.
Crust:
- 17 chocolate cream Oreo cookies, crushed
- 1/4 cup butter, melted
- 1 tablespoon sugar
Filling:
- 3 packages (8 ounces each) cream cheese, softened
- 1-1/2 cups sugar
- 1 cup sour cream
- 1/2 cup buttermilk
- 3 tablespoons baking cocoa
- 2 teaspoons vanilla extract
- 4 large eggs, room temperature, lightly beaten
- 1 bottle (1 ounce) red food coloring
Frosting:
- 3 ounces cream cheese, softened
- 1/4 cup butter, softened
- 2 cups confectioners’ sugar
- 1 teaspoon vanilla extract
Alternative Options:
Don’t have all that at home? No worries. Here are some alternatives that’ll get the same work done.
- Cream Cheese Alternative: Mascarpone cheese or Greek yogurt
- Sugar Alternative: Caster sugar
- Eggs Alternative: Cornstarch or potato starch
- Sour Cream Alternative: Full-fat Greek yogurt
- Red Food Coloring Alternative: Beet juice or pomegranate juice
How To Bake Red Velvet Cheesecake The Right Way
Now let’s get into the main process. Bear with me. It’s not that difficult.
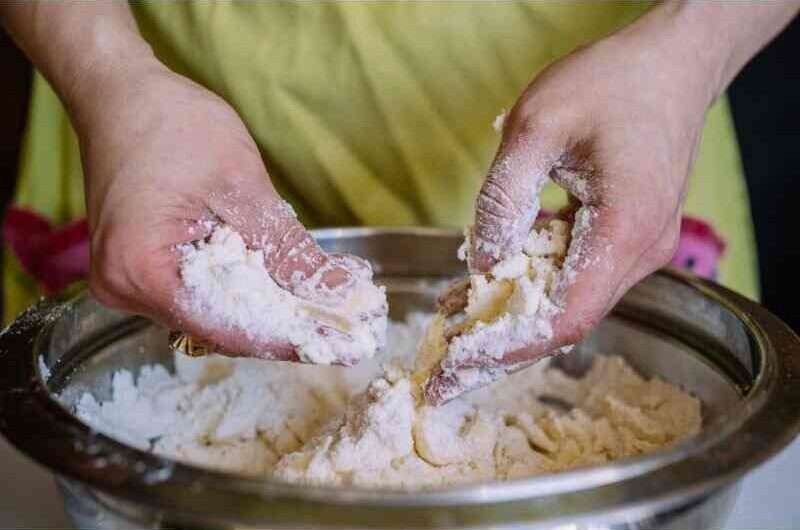
1.Making the Crust: First, you need to make the bottom part of the cheesecake. Take some cookies with cream in the middle and make them into tiny crumbs. Mix these crumbs with melted butter and a bit of sugar. Press this mixture into a pan. This will be the tasty bottom of your cheesecake.
Pro Tips:
- Use a flat-bottomed glass to press down the crust mixture. It’ll help create a firm and even base for your cheesecake.
- Chill the crust in the fridge while you prepare the filling. This helps the crust set and prevents it from mixing with the filling.
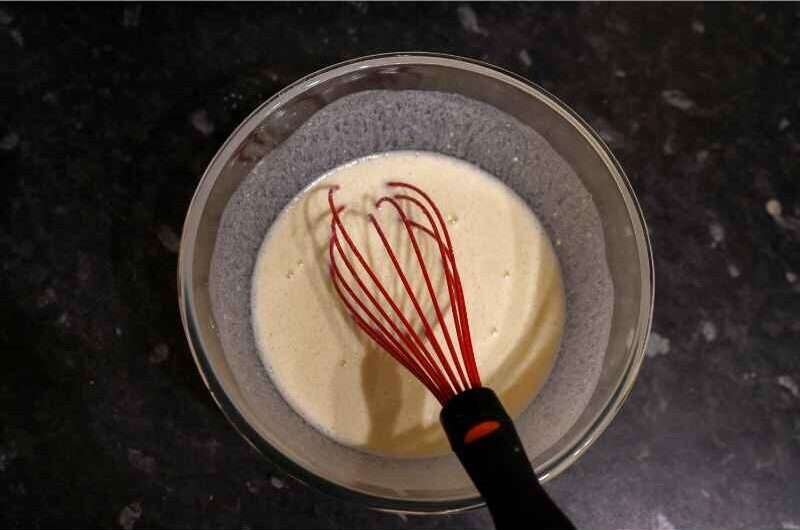
2.Preparing the Filling: Preparing the Filling is next. In a big bowl, mix cheese, sugar, sour cream, buttermilk, cocoa, and vanilla. This mix should be smooth. Now, add eggs that are not cold and have lots of red color. Stir everything a little bit.
Pro Tips:
- Make sure all your ingredients are at room temperature before you start. This ensures a smoother filling without lumps.
- Add the eggs last and mix on low speed until they’re incorporated. Over-mixing can cause the cheesecake to crack.
3.Baking the Cheesecake: Pour the red cheese mix over the cookie crust in your pan. Put it in the oven to bake. It needs to cook until it’s set, which takes about one hour and fifteen minutes. You’ll know it’s done when it doesn’t jiggle much in the middle.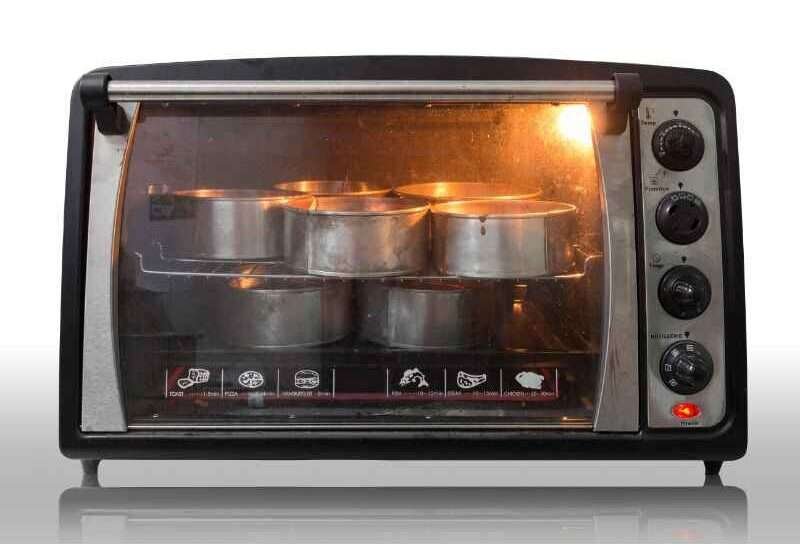
Pro Tips:
- Bake the cheesecake in a water bath. It’ll let the cheesecake cook gently and evenly.
- Don’t open the oven door while baking. Sudden temperature changes can cause the cheesecake to collapse or crack.
4.Cooling Down: After the cheesecake is baked, don’t eat it yet! It needs to cool off. Leave it out until it’s not hot anymore. Then, put it in the fridge for a few hours. This makes the cheesecake firm and even more yummy.
Pro Tips:
- Let the cheesecake cool inside the oven with the door slightly open for about an hour. This slow cooling helps prevent cracking.
- After chilling, run a knife around the edge of the cheesecake before unclamping the springform pan. This separates the cheesecake from the pan and prevents it from tearing.
5.Adding the Frosting: While the cheesecake is cooling, make the frosting. Mix some more of the soft cheese with butter that’s also soft. Add powdered sugar and a little vanilla. When the cheesecake is cold, spread this sweet frosting on top.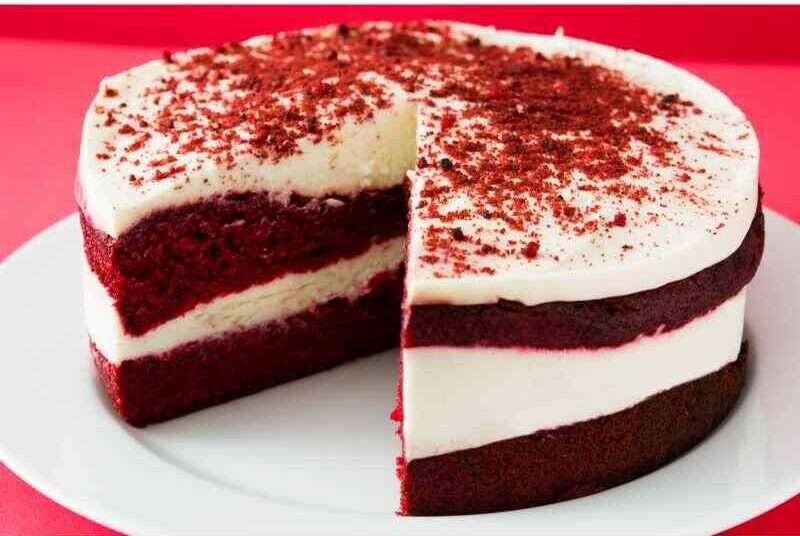
Pro Tips:
- For a smooth frosting, sift the confectioners’ sugar to remove any lumps before mixing it with the other ingredients.
- Apply the frosting with an offset spatula for a professional-looking finish. Start from the center and work your way out to the edges.
And just like that, your perfect red velvet cheesecake is ready to be enjoyed.
Amazing Things You Can Add to The Red Velvet Cheesecake
Don’t be afraid to explore and experiment with the dessert. It’s your cheesecake after all. Here are a few other things you can try out,
- Cookies on Your Cake: When your cake has white cream on it, put little cookie bits on top. It makes your cake crunchy to eat.
- Chocolate Lines: You can make the chocolate soft and put it on your cake to make lines. It makes your cake look nice and taste like chocolate.
- Fruits on Top: Put little red fruits like strawberries on your cake. They are sweet and make your cake look and taste good.
- Creamy Top: Put fluffy white cream on your cake. It makes your cake soft and very tasty.
- Chocolate Inside: Put little bits of chocolate in your cake mix. When you bake the cake, you get little chocolate bits to eat in the cake.
Tips and Tricks for Baking the Red Velvet Cheesecake
You surely don’t want to mess things up. Trust me, you won’t if you follow all the instructions mentioned here.
However, to make sure nothing goes wrong, take a look at the following tips:
- Cream Cheese Temperature: Make sure your cream cheese is completely softened to room temperature before you start. It’ll prevent lumps and ensure a smooth batter.
- Sifting Ingredients: Sift your cocoa powder and any other dry ingredients to avoid lumps in your cheesecake batter. This is for a smooth texture.
- Water Bath: Bake your cheesecake in a water bath. This helps the cheesecake bake evenly and prevents cracks by providing a moist environment in the oven.
- Adding Color: For that classic red velvet look, add red food coloring to your batter. Mix it in slowly and evenly to achieve the perfect shade.
- Avoid Overmixing: Mix your batter just until the ingredients are combined. Overmixing can incorporate too much air, leading to cracks as the cheesecake bakes and settles.
- Cooling: Let the cheesecake cool gradually. Turn off the oven and leave the door slightly open with the cheesecake inside for about an hour before moving it to the counter to cool completely.
- Chilling: Chill your cheesecake in the refrigerator for several hours or overnight before serving. This step is essential for the cheesecake to set properly and develop the right texture.
Nutritional Benefit of Red Velvet Cheesecake
Nutrient | Amount per Serving | % Daily Value |
Calories | 308 kcal | – |
Total Fat | 18.8 g | 24% |
Carbohydrates | 30 g | 11% |
Protein | 3.8 g | 8% |
Sodium | 135 mg | 6% |
The Story of Red Velvet Cheesecake
Red Velvet Cheesecake is a yummy cake that people love to eat. A long time ago, cakes were made to be very special and smooth. They called these cakes “velvet” because they were as soft as velvet cloth.
The Red Velvet Cake started to become famous a long time ago, but no one knows exactly when. Some people think it was first made in a big hotel in New York City. Others say it came from the South of America.
In a big war, it was tough to find baking stuff. So, bakers used beet juice to make cakes red and soft. That’s how the Red Velvet Cake Recipe got its pretty red color.
FAQ:
- Can I make Red Velvet Cheesecake without an oven?
Yes, you can make a no-bake version. You mix the ingredients and put the cake in the fridge to set.
- Is Red Velvet Cheesecake gluten-free?
No, it usually has cookies and flour that have gluten. But you can use gluten-free cookies and flour instead.
1.Can I use something else instead of red food coloring?
Yes, you can use natural colors like beet juice or pomegranate juice, but the color will be different.
2.How long can I keep Red Velvet Cheesecake?
You can keep it in the fridge for up to 5 days. Make sure to cover it so it stays fresh.
3.Can I freeze Red Velvet Cheesecake?
Yes, you can freeze it. Wrap it well, and you can keep it for a few months. Thaw it in the fridge before eating.
Final Thoughts:
And so we end our sweet journey with Red Velvet Cheesecake. I hope this cake has made you excited to bake and shown you how simple it is to make a special treat.
This recipe is fun to make and even more fun to eat. It’s perfect for when you want something rich and lovely. Now is a great time to put on your baking hat and make this tasty cake for a cozy and happy time.
Don’t wait any longer! Go to your kitchen, follow these easy steps, and get ready for a baking adventure that will make everyone smile.




Leave a Review